Whew! So much done! I finished the basic purse last night and got the lining and everything put together this morning. Still have a few things left to do though.
1)
Sew on snap for cell phone pocket closure.2)
Sew flap backside shut.3)
Sew buttonholes on flap.4)
Sew buttons onto purse.All hand-sewing which is why I'm taking a break and updating the blog beforehand. HOPEFULLY, I'll finish it tonight (have some chores and homework to do though, so maybe not). Tomorrow the plan is to start work on the
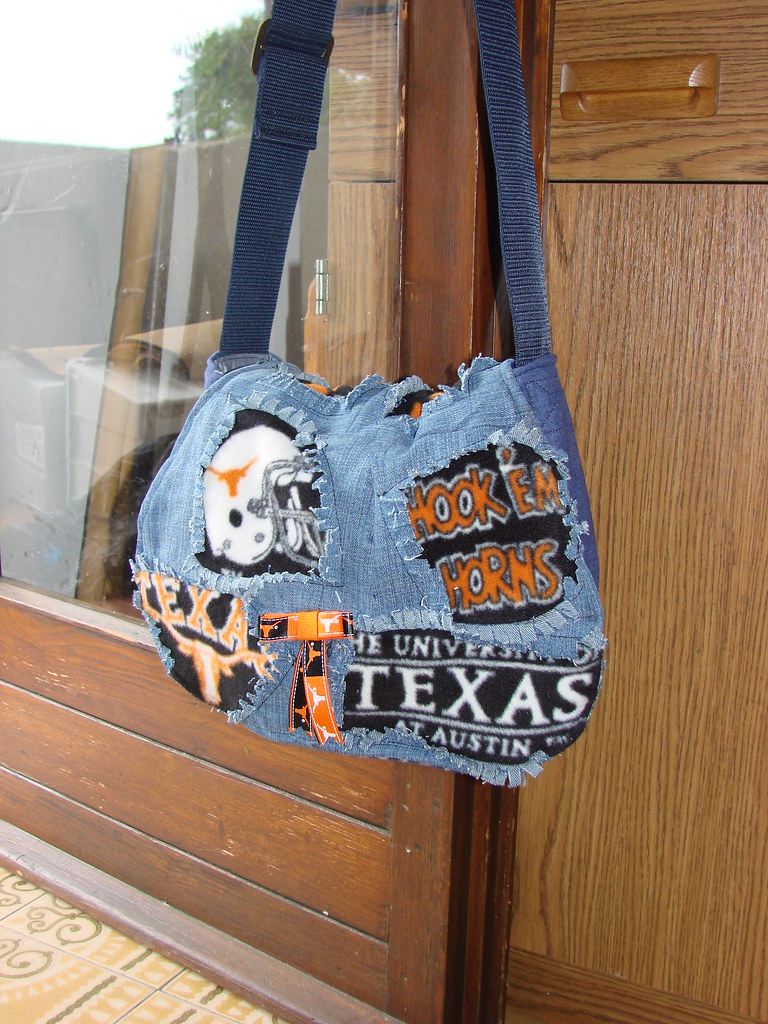
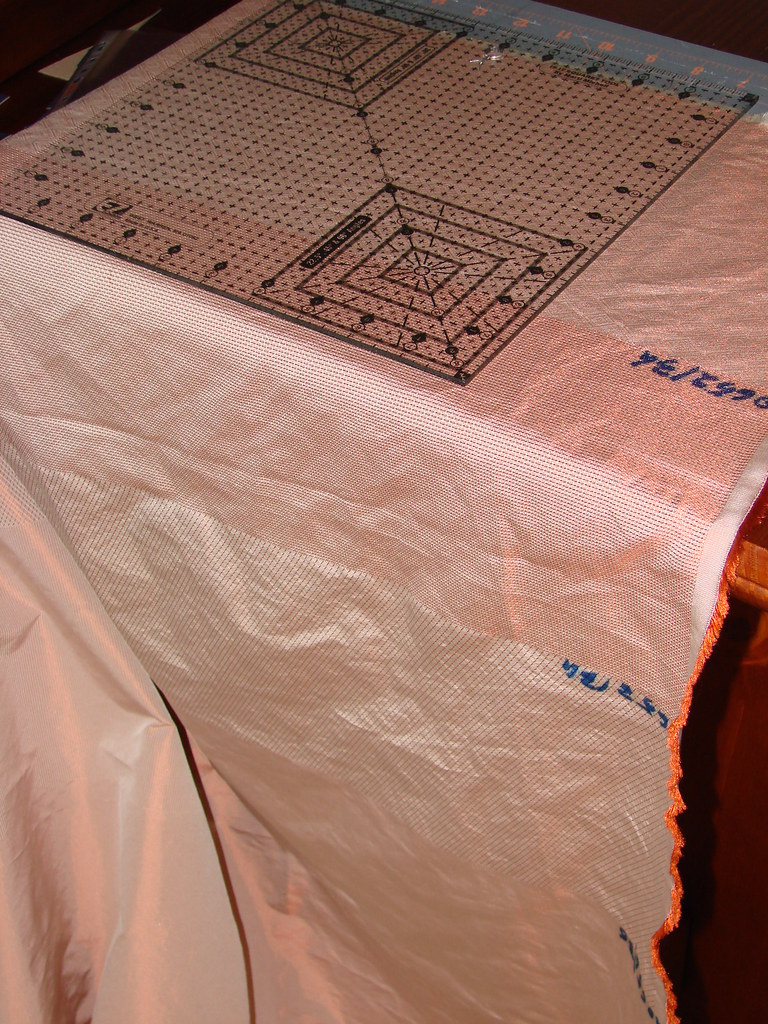
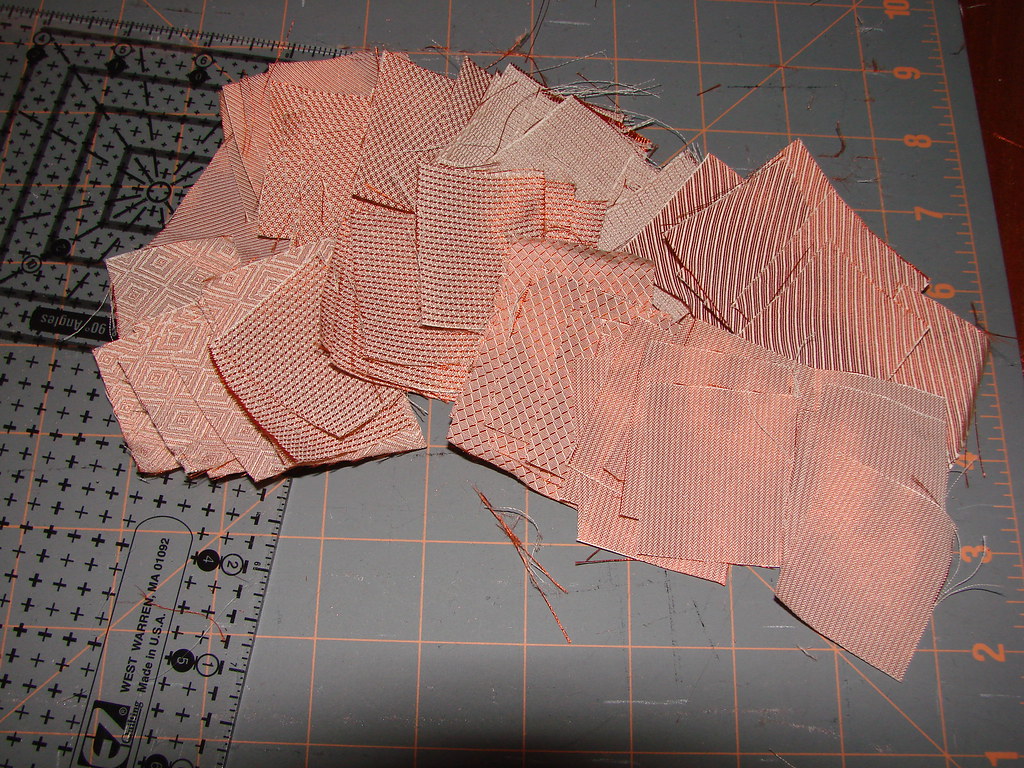
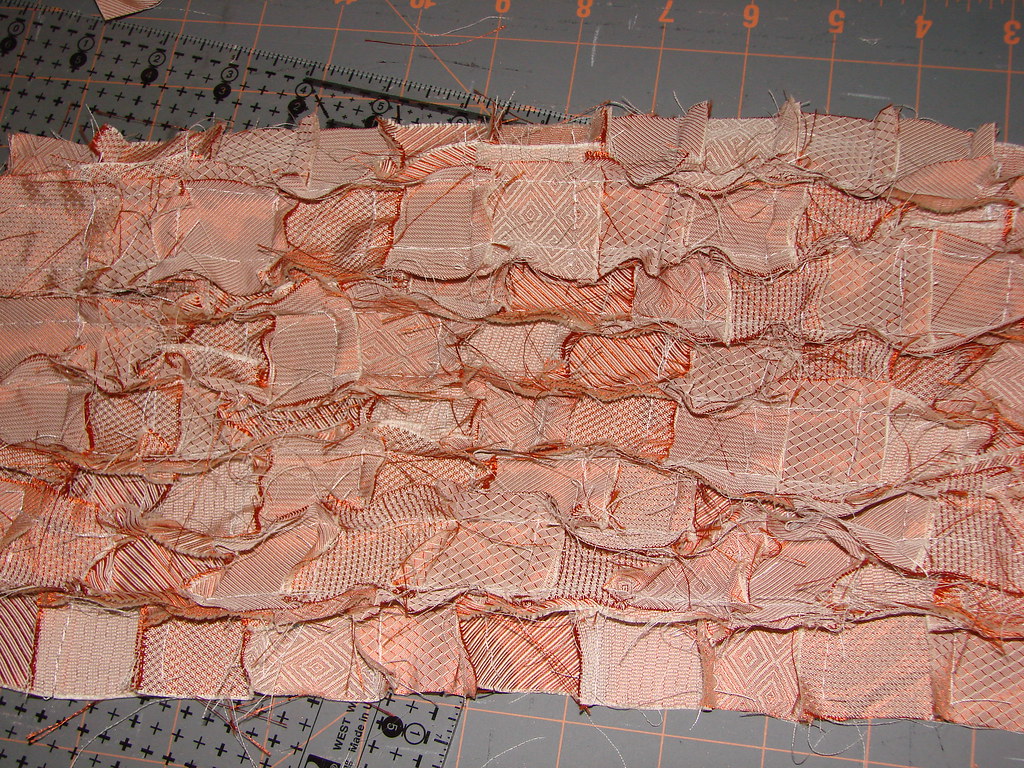
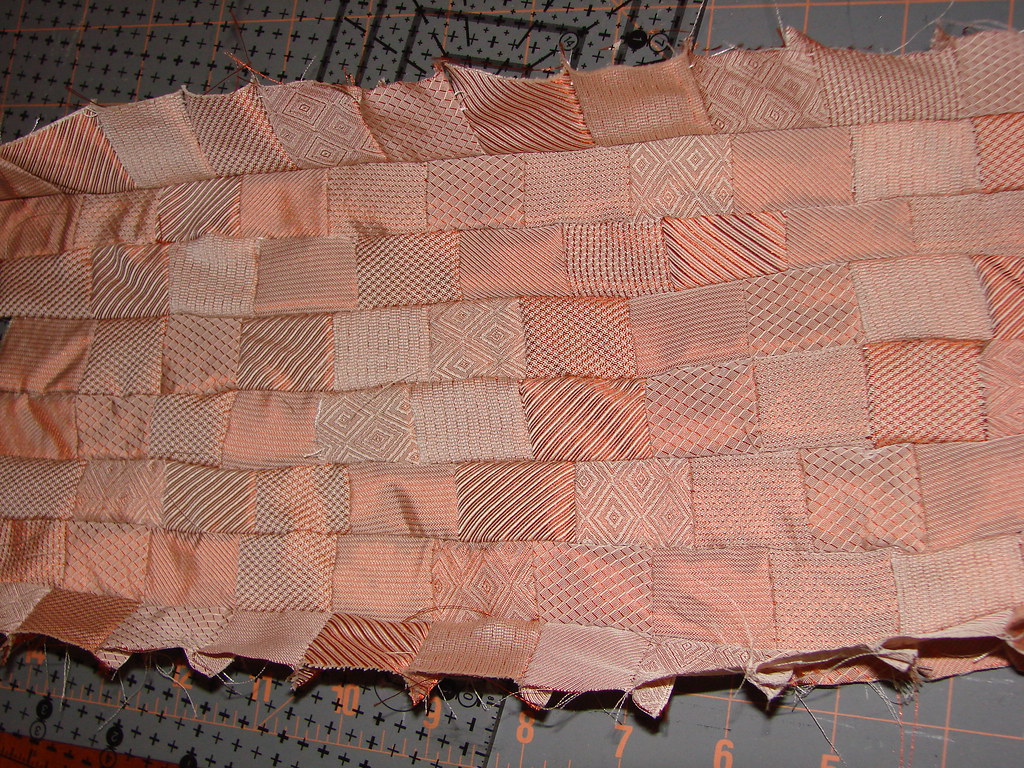
UT-themed flap. It will be *awesome* and I'm pretty sure what will prompt my mother to ask for her own purse too. I found this kinda blah fabric in the bins at Giesse (local fabric store)... it's a shimmery sort of beige with different patterns weaved in. The *really* cool thing is that I noticed the frayed edges. One direction it's a GORGEOUS burnt orange (perfect for UT right?) and in the other it's a creamy white. I think it may have been a sample piece from the manufacturer as it has 8 patterns on it lengthwise and no repeats. Also some marker writing on the edge. The plan for this one is to cut squares out of each section and arrange them in a brick-like pattern, pieced together like a
rag quilt. The squares will be rotated so the orange and white will mix together when the edges fray. *crosses fingers* it turns out like I hope. I ordered some
Longhorn ribbon from
JoAnn.com too to make it *really* obvious that it's UT... lol.
But anyways....
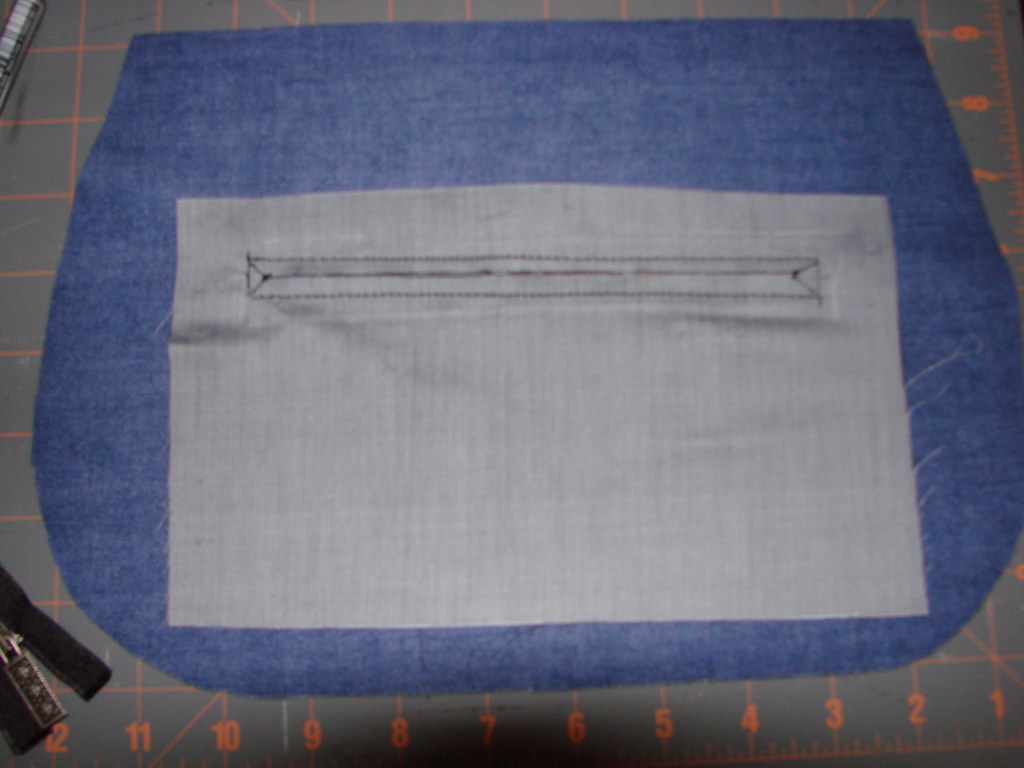
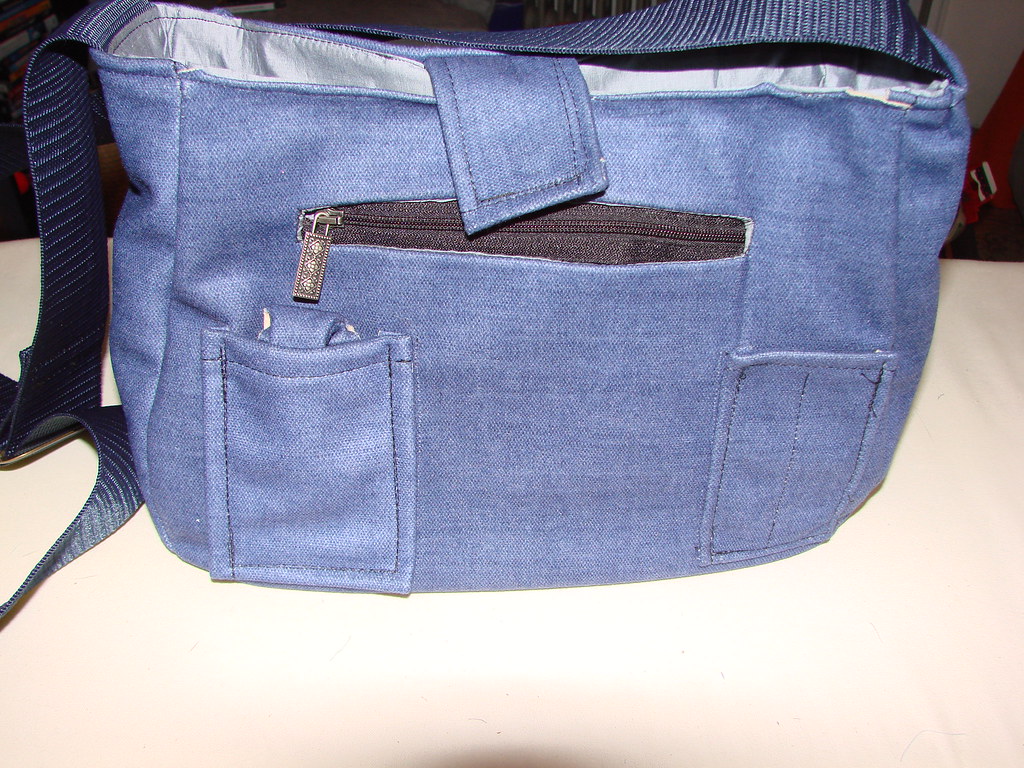
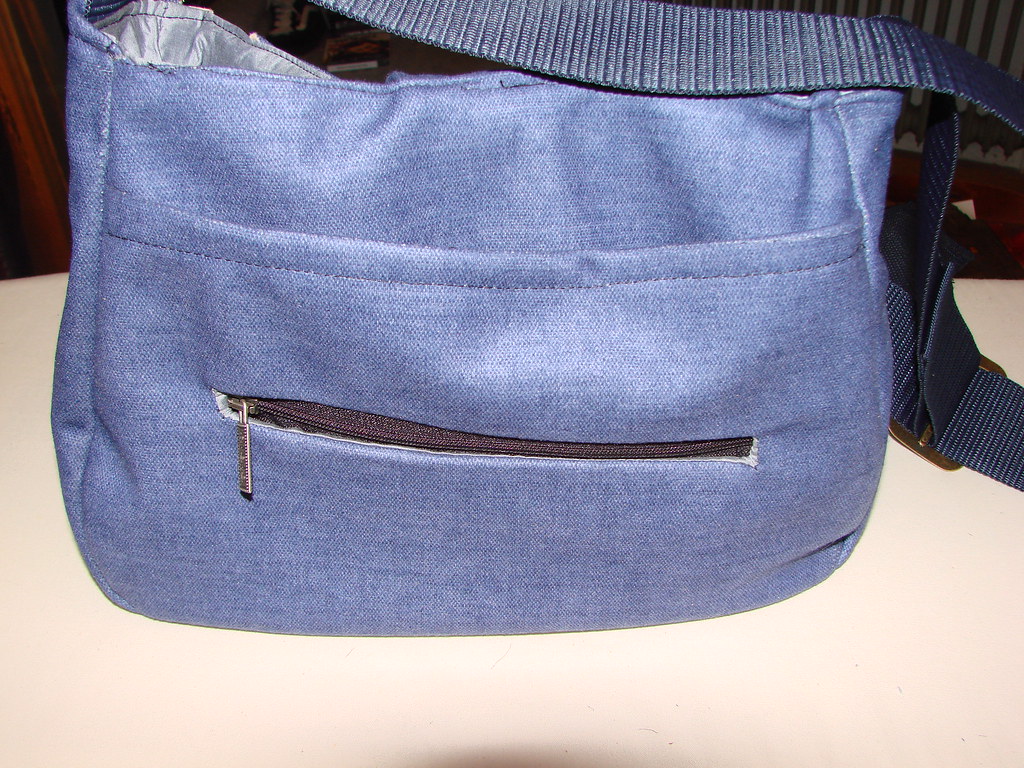
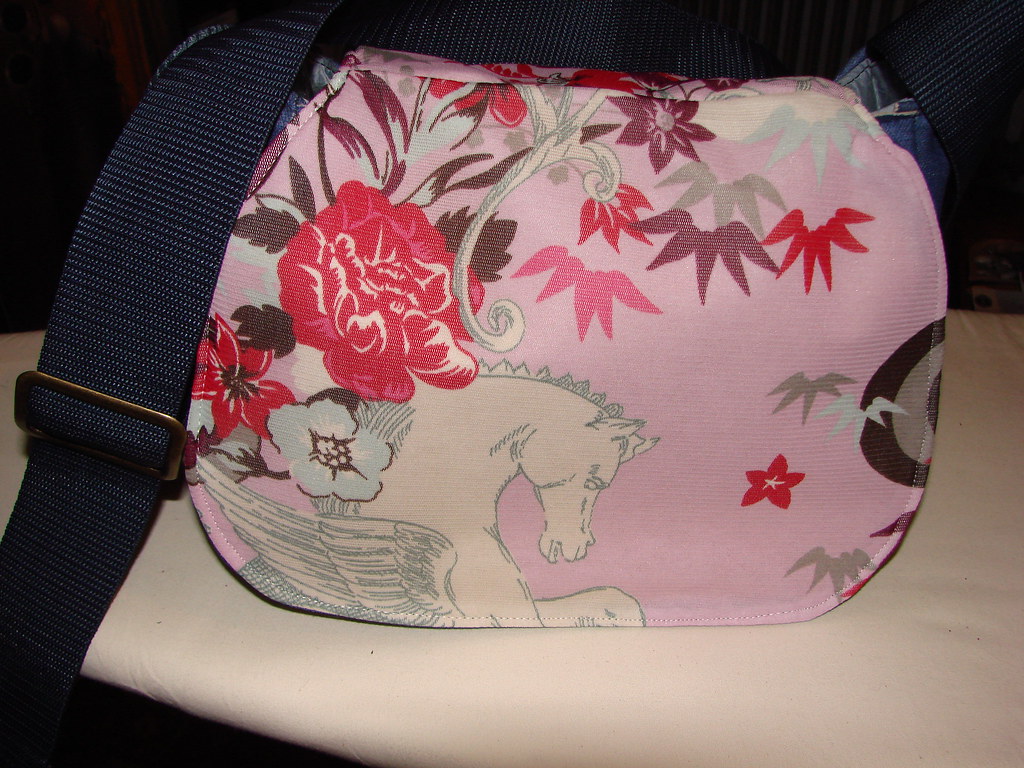
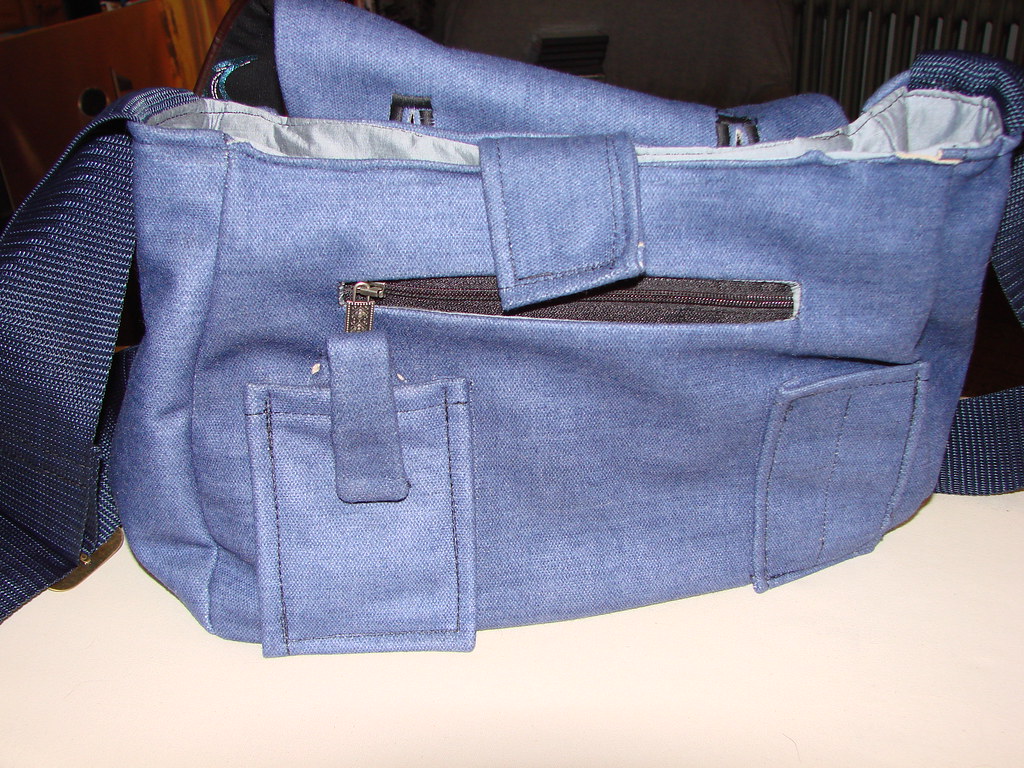
Moving on, here's some photos of the *almost* finished purse as it was assembled. First up... zippered pockets. These are my first *EVER* attempts and are REALLY not as crooked as some of the photos appear to make them. I swear. No really. They're not crooked. This purse has 3 of them and I'm pretty sure I got better at them as I progressively went along. ^_^ Practice makes perfect, right?


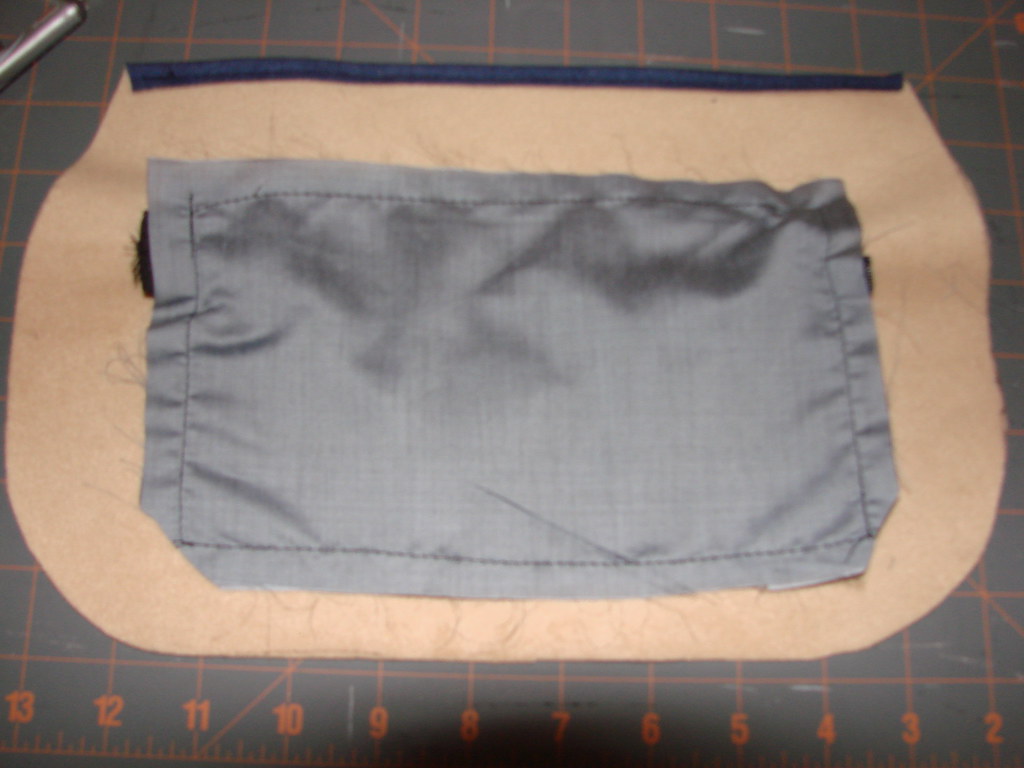

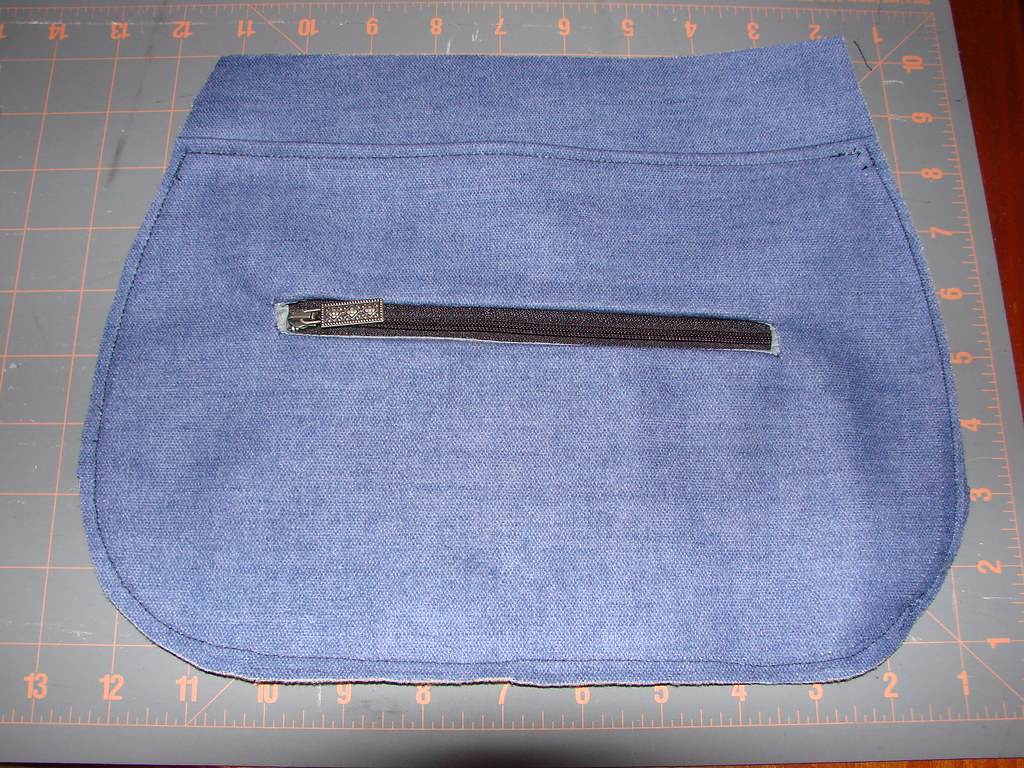
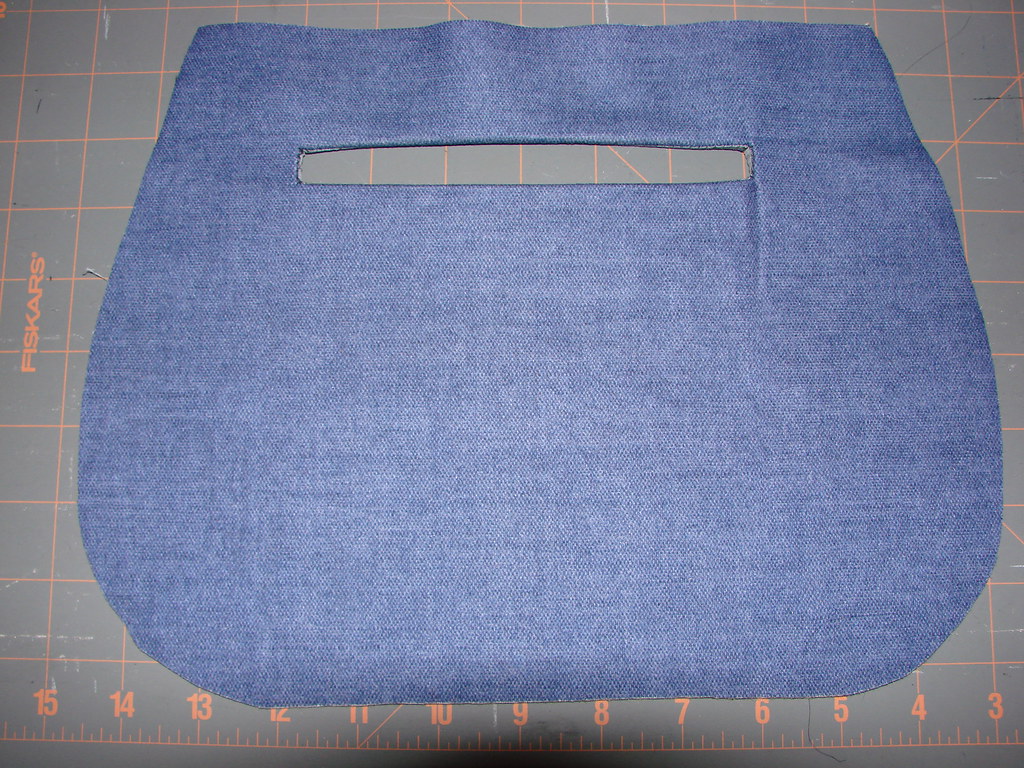


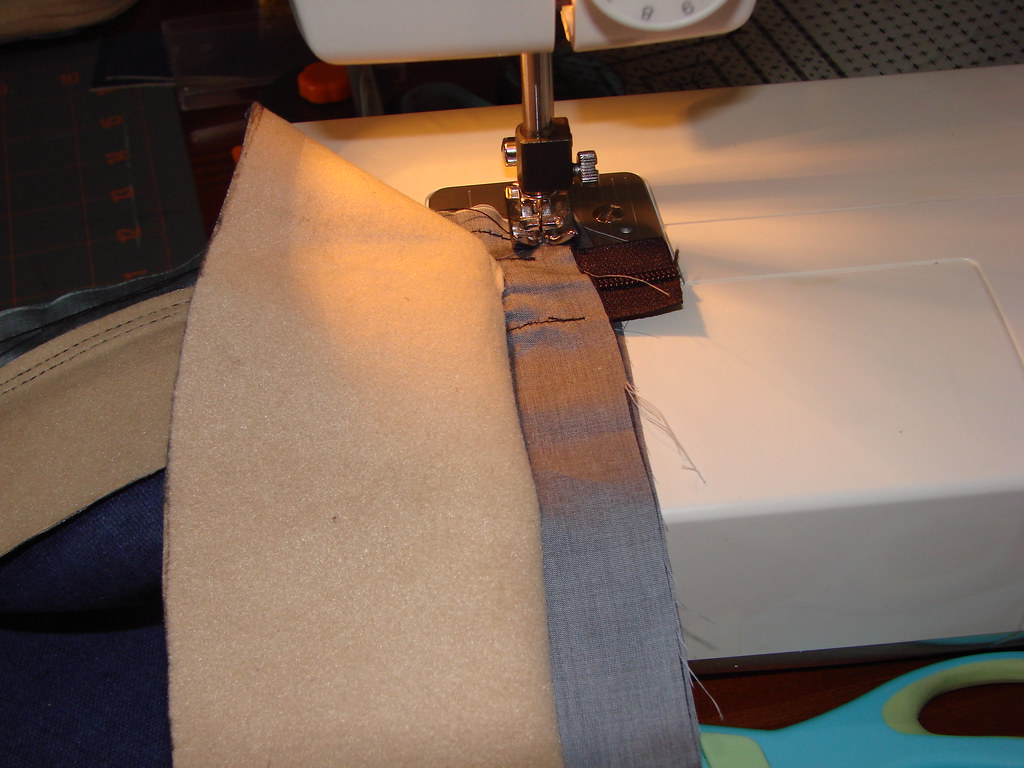
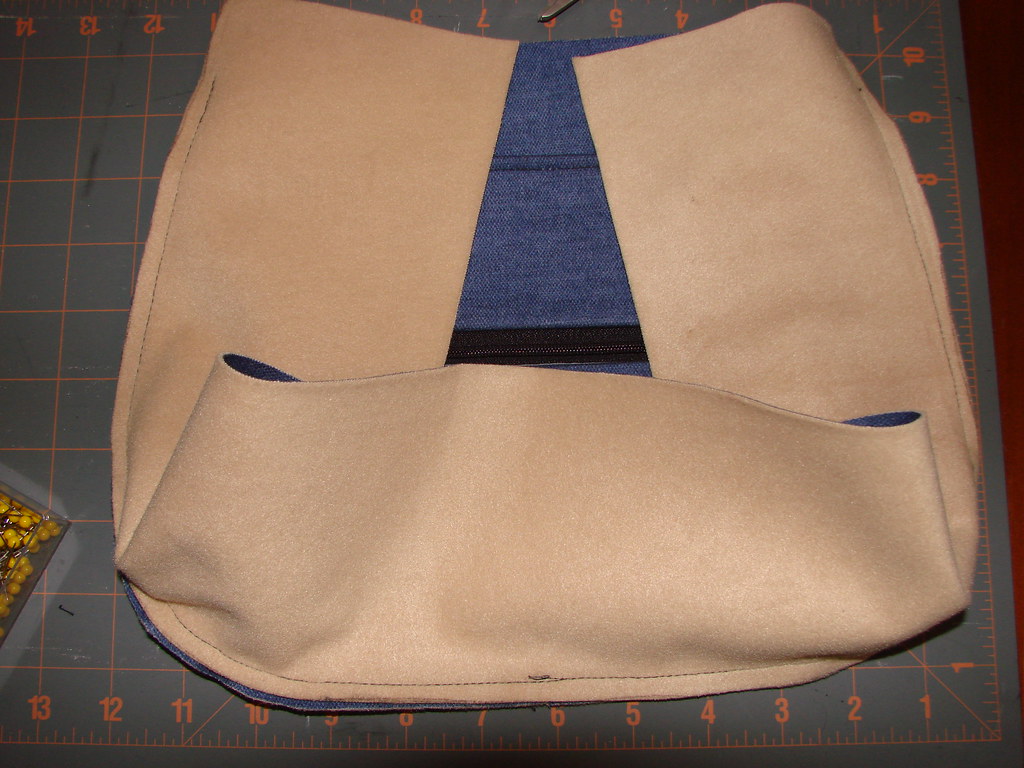
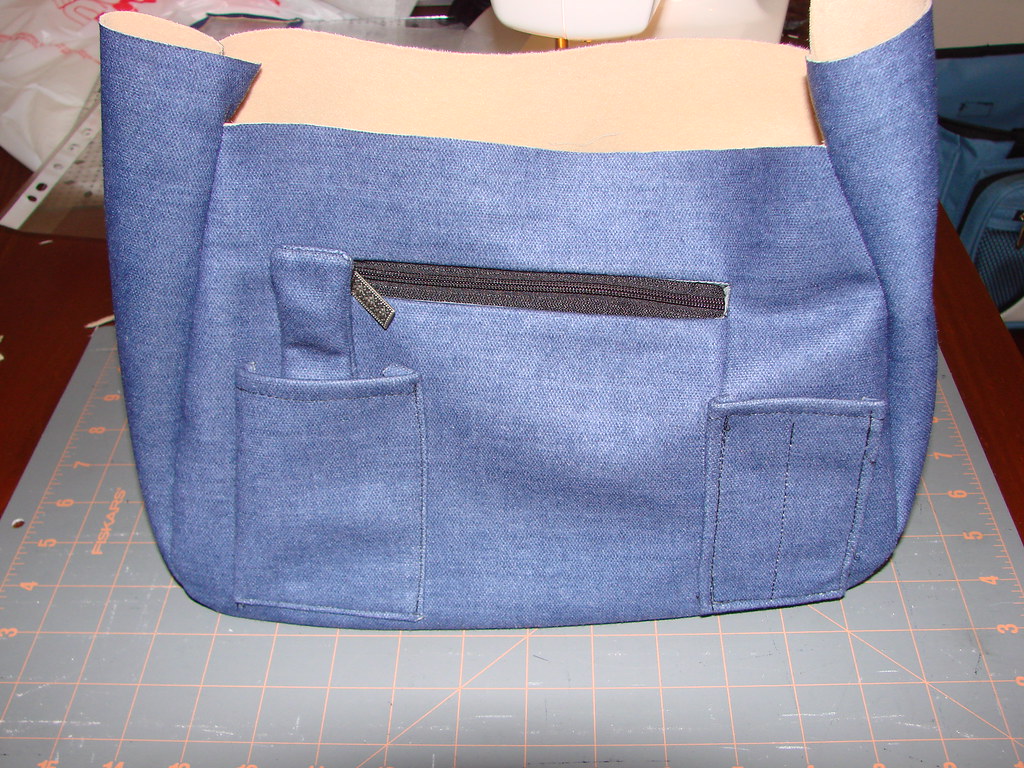
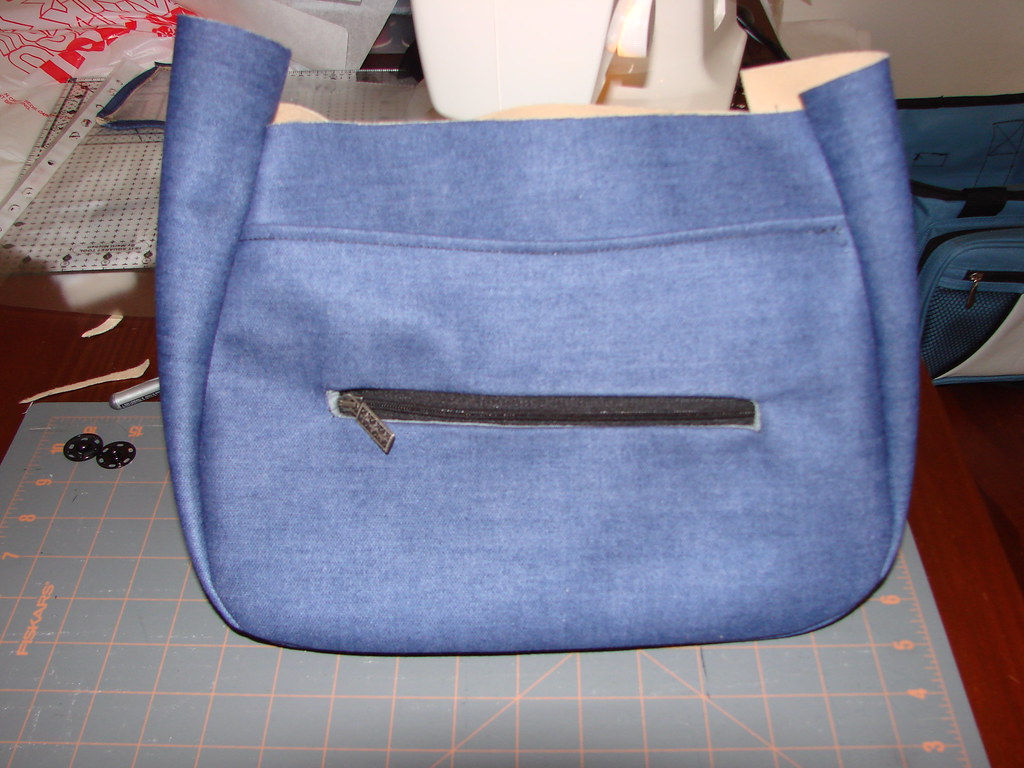
Here's a photo of the gusset sewn onto one side of the main purse and some of the "finished" outside (next time I think I'm going to make the gusset thinner). I actually assembled the entire outside of the purse, decided I didn't like portions of it and had to rip it all apart again so what is pictured here is not what I ended up with. First off, the zippered pocket on the backside was just kickin' it inside the open pocket there so I went back and lined the open pocket to "hide" it. Looks much more finished and I like it a lot more too. Next, the cell phone pocket on the front was too small. Well, actually the pocket fit, the strap was too short. So I took that one off, made a longer strap but then the pocket really WAS too small. IIRC, Ronee's cell phone is about the same size as mine so I used that for comparison and eventually made a pocket that would work. If not, oh well... it'll hold keys or something just as well I suppose. *shrug*
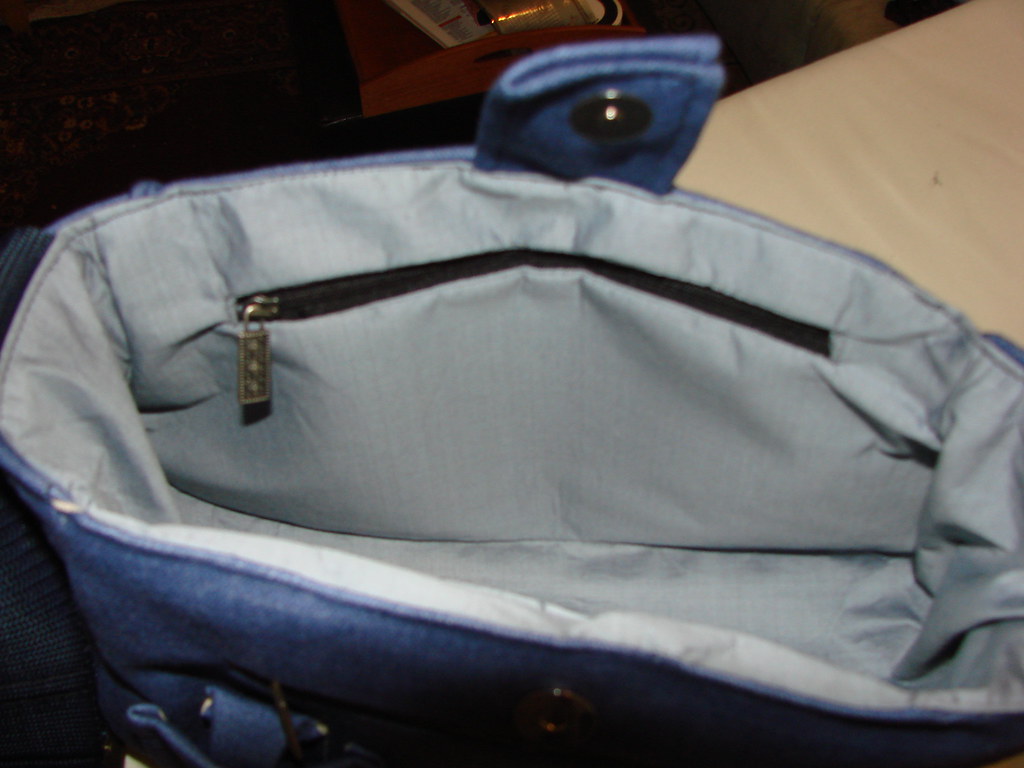
Next up is starting on the lining and inside of the purse. Here's a photo of the little quilted pocket I made to hold her new iPod. I'm also planning on adding a small elastic band to keep headphones curled up and in one spot. I'll add photos of these later.


The inside also has the largest zippered pocket of all. By this point I realized that due to the pocket making process, the size has a smidge of "shrinkage" going on so I made it larger on purpose.
I'm not at all a fan of the interfacing I used. It was way too stiff and has this weird crinkly/wrinkly effect going on once I sewed the lining in. Next time the lining will have to be smaller for sure. I was going to sew it so you didn't see the seam but couldn't figure out how to do that with the straps sewn in between. I was impatient (again!) and after staring at it for a good 15 minutes trying to figure out how to assemble it that way I figured I'd just do the top-stitching technique. It turned out kinda wonky since the main fabric was barely long enough to have a seam allowance. I'll have to go back and handsew a couple of small sections to fix it a bit. Same with the faux leather piping on the flap. The t-shirt being stretchy jersey didn't help AT ALL. I was forced to use the crappy interfacing but I guess it turned out okay regardless.

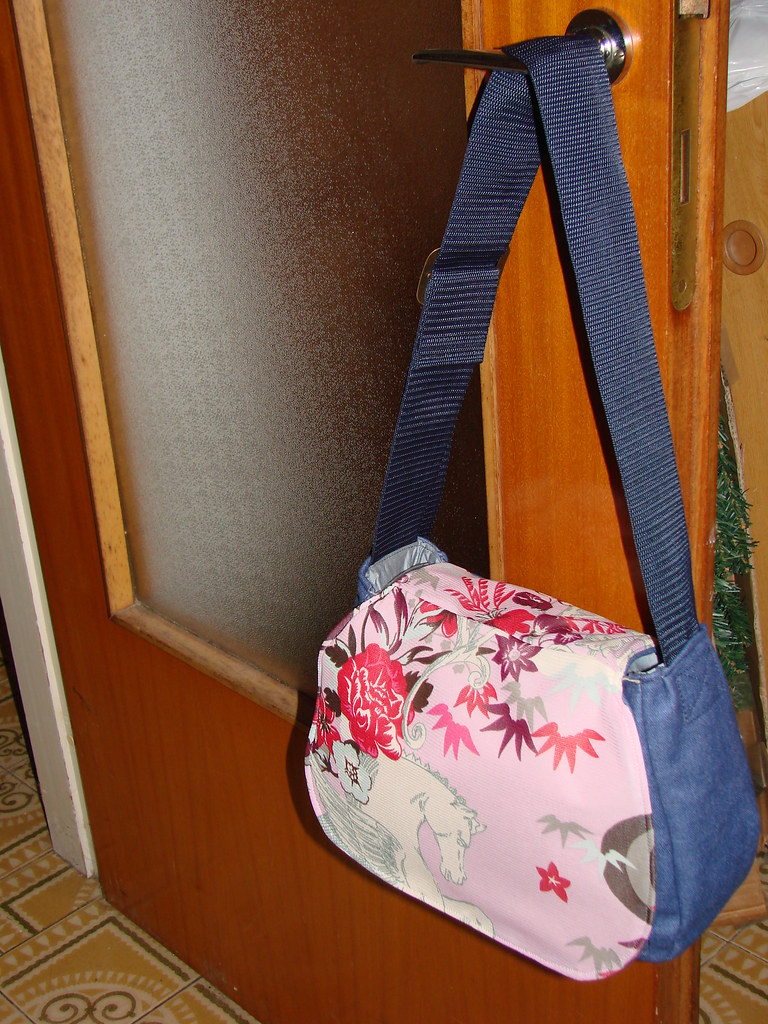
One of my favorite things about the purse so far (other than the entire CONCEPT of interchangeable flaps -- that is just so freakin' cool ^_^) is the adjustable strap. I was afraid of my needle not handling it well since it's kinda thick but was pleasantly surprised when it slipped through
like butta. It's amazing how smooth it stitched up... even when I folded it over on itself.
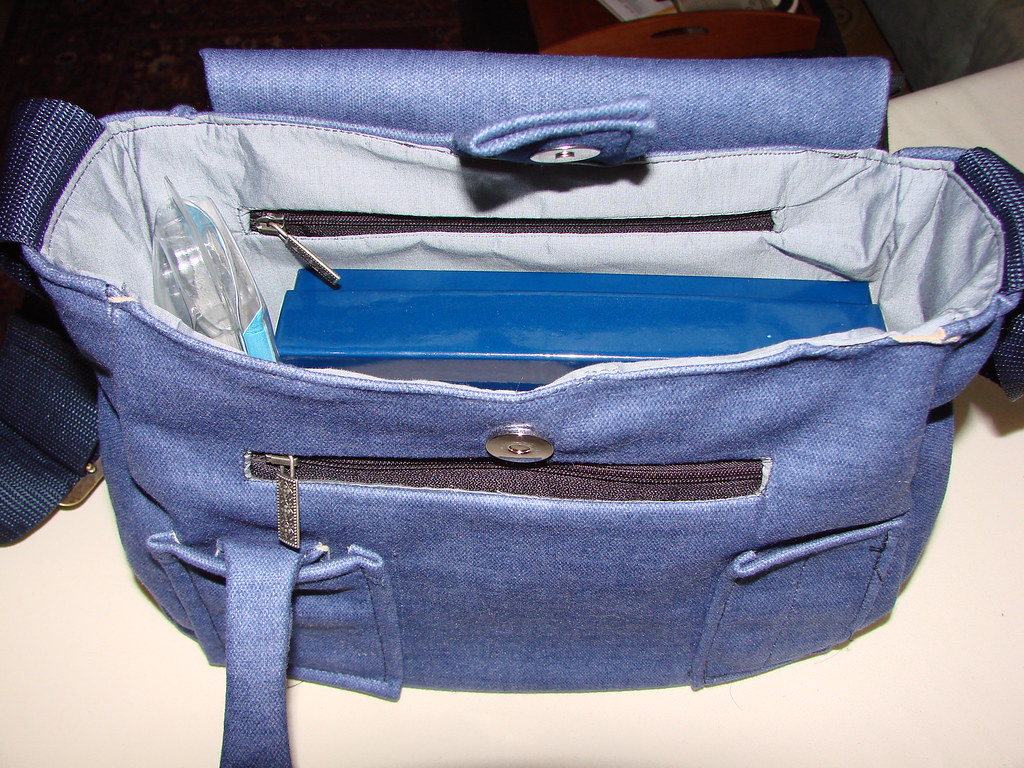
Here's a photo of it filled up with some of Ronee's other gifts (
headphones for her iPod -- I seriously SWEAR by this type, sooo comfortable!, a small address book,
her wallet -- and a $25 gift certificate to
iTunes, and a book --
Lunatic Cafe by Laurell K. Hamilton -- I've been trying to get Ronee into the series and found this book at the Thrift Store... it's the 4th book in the series but really starting to get into the overall plot and character development so I thought it might catch her attention a bit more than the first).

I'll update with more photos soon of the buttons for the flaps and hopefully a few more flaps. Plans include the UT one and a pearled smocking one. Ciao ciao!


